
Badges are everywhere!
To sew-a-longs;
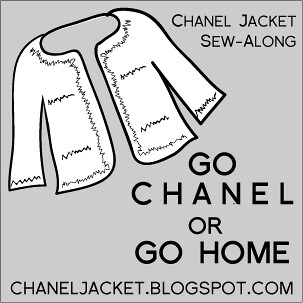
Like Gertie’s Lady Grey Coat Sew-Along Or, the Chanel Jacket sew along

To wear-a-longs:
Me Made March Self Stitched September


They are a two-way thing. Like wearing a real badge, the maker is trying to promote or spread something. And the wearer wants to express their allegiance or appreciation for that very thing. In the blogosphere that two way exchange takes place between two places on the web - between a blog and another site.You may use other blog’s badges to show you are joining in a sew-along. If you want to start your own, then you will need to make a badge other’s can use to show they are sewing-along.
Another use, is a form of recognition or reward. Like when you give out a badge for being a beautiful blogger. You can generate all manner of awards here , for anyone you deem worthy!
1. Make your artwork
Like making a button on your blog, you will need a graphic.
See {Crafty blogger tip 1} for making a
artwork. Here’s a graphic I made
in powerpoint following
that tute.
See {Crafty blogger tip 1} for making a
artwork. Here’s a graphic I made
in powerpoint following
that tute.
2. Host your artwork
Hosting is placing your badge artwork in one place on the web that is publicly shared so that everyone that uses your badge doesn’t have to download and upload the artwork file themselves. By hosting it in one location, everyone that uses the badge just references that one location. There are plenty of sites that offer image ‘hosting’ for blogs. Some free sign-up hosting sites are listed here. Sign up, upload your artwork and make a note of the url it is shared at - you will be inserting that url into the html below, where the purple text is.
3. Decide on your destination url
The destination is where people who click on the badge will be taken, wherever the badge appears. For my "Golly, Passiona blogged about me badge" I have a generic link to my blog - this can be updated to the exact blog post where I blogged about the bearer. For my "Project Runway Sew-a-long" badge, the destination url is the flickr group where the sew-a-long garments are uploaded. Choose your url and make a note of it - you will be inserting it into the html below, where the burgundy text is.
Now you're all ready to make the gadget.
Now you're all ready to make the gadget.
4. Make the gadget
How do I make the code available for someone else to post on their blog? Make a little html script like this one to place in an html/java script gadget on your blog. The first part of the code is a sample of the button, the second part is the code they copy to get the button - paste it all into the one html/java script gadget.
How do I make the code available for someone else to post on their blog? Make a little html script like this one to place in an html/java script gadget on your blog. The first part of the code is a sample of the button, the second part is the code they copy to get the button - paste it all into the one html/java script gadget.
<a href="insert your destination url here"><img src="insert the url of your hosted artwork here" border="0"/></a>
<div style="width:180;background-color:#FFFFFF;border:1px solid #663300;">
<a href="insert your destination url here"><img src="insert the url of your hosted artwork her" border="0" /></a></div>
It will appear in a frame so anyone can cut an paste the html directly into a gadget on their own blog.
<div style="width:180;background-color:#FFFFFF;border:1px solid #663300;">
<a href="insert your destination url here"><img src="insert the url of your hosted artwork her" border="0" /></a></div>
It will appear in a frame so anyone can cut an paste the html directly into a gadget on their own blog.
 |
| I wonder where I get my inspiration! |


